

Applying vinyl without bubbles
A clean panel and a steady squeegee do more to prevent bubbles than any trick product. This guide covers the prep, positioning and pressure that help printable self-adhesive vinyl sit flat from the first pass.
Start with the panel, not the vinyl
Most bubbles start before the liner is even peeled. Dust, polish residue, silicone, old adhesive and tiny paint nibs all hold air under the film, and the vinyl simply shows what was already on the surface. Whether you are working on acrylic, aluminium composite, glass, painted board or a smooth interior wall panel, the first job is to get it properly clean and dry.
Use a lint-free cloth and a suitable surface cleaner that leaves no oily residue. On glass and rigid sign faces, wipe once to loosen grime and wipe again with a fresh cloth so you are lifting contamination away rather than moving it around. If an old graphic was removed, clear every bit of adhesive first. Even a thin tacky patch can drag the film and create a row of trapped blisters.
- Check that the panel is fully dry, especially at edges and joins.
- Remove dust from corners, trims and screw heads.
- Look across the surface under side light for dirt, nibs and scratches.
- Make sure the print itself is dry and has flattened after printing and trimming.
- Keep the work area clean so peeled liner does not carry dust back under the film.
On indoor jobs, a room that is too cold can make the adhesive feel stiff and less willing to wet out on first contact. Heat and direct sun are just as awkward because the film grabs too quickly. A moderate working temperature helps a lot, and it gives you a little time to keep the panel straight if it starts drifting.
Position first, then build a hinge
Trying to hold a full-width print in the air while peeling liner usually ends with skew alignment or a crease. A hinge gives you control. Tape the graphic in place while the liner is still on, step back, and check margins, level lines and any critical copy. On window graphics and decals with borders, this stage matters more than most people think.
For medium sheets, a top hinge is often the neatest option. For longer runs on boards or repeated panels, a centre hinge can be easier because it lets you apply one side at a time. The aim is not speed. The aim is to stop the vinyl from dropping onto the panel before you are ready.
- Use low-tack masking tape to hold position while you inspect the layout.
- For top hinges, run one firm tape line across the full width near the top edge.
- For centre hinges, tape down the middle and work one half, then the other.
- Trim excess liner only if it helps handling and does not expose adhesive too early.
- Before peeling, check that the panel and your hands are still clean.
Once the hinge is in place, peel back a short section of liner and crease the liner away from the adhesive. Do not strip the whole backing off in one go. A small exposed band is easier to lay down flat, and it gives you a clean starting line for the first squeegee strokes.
Use the squeegee like a guide, not a scraper
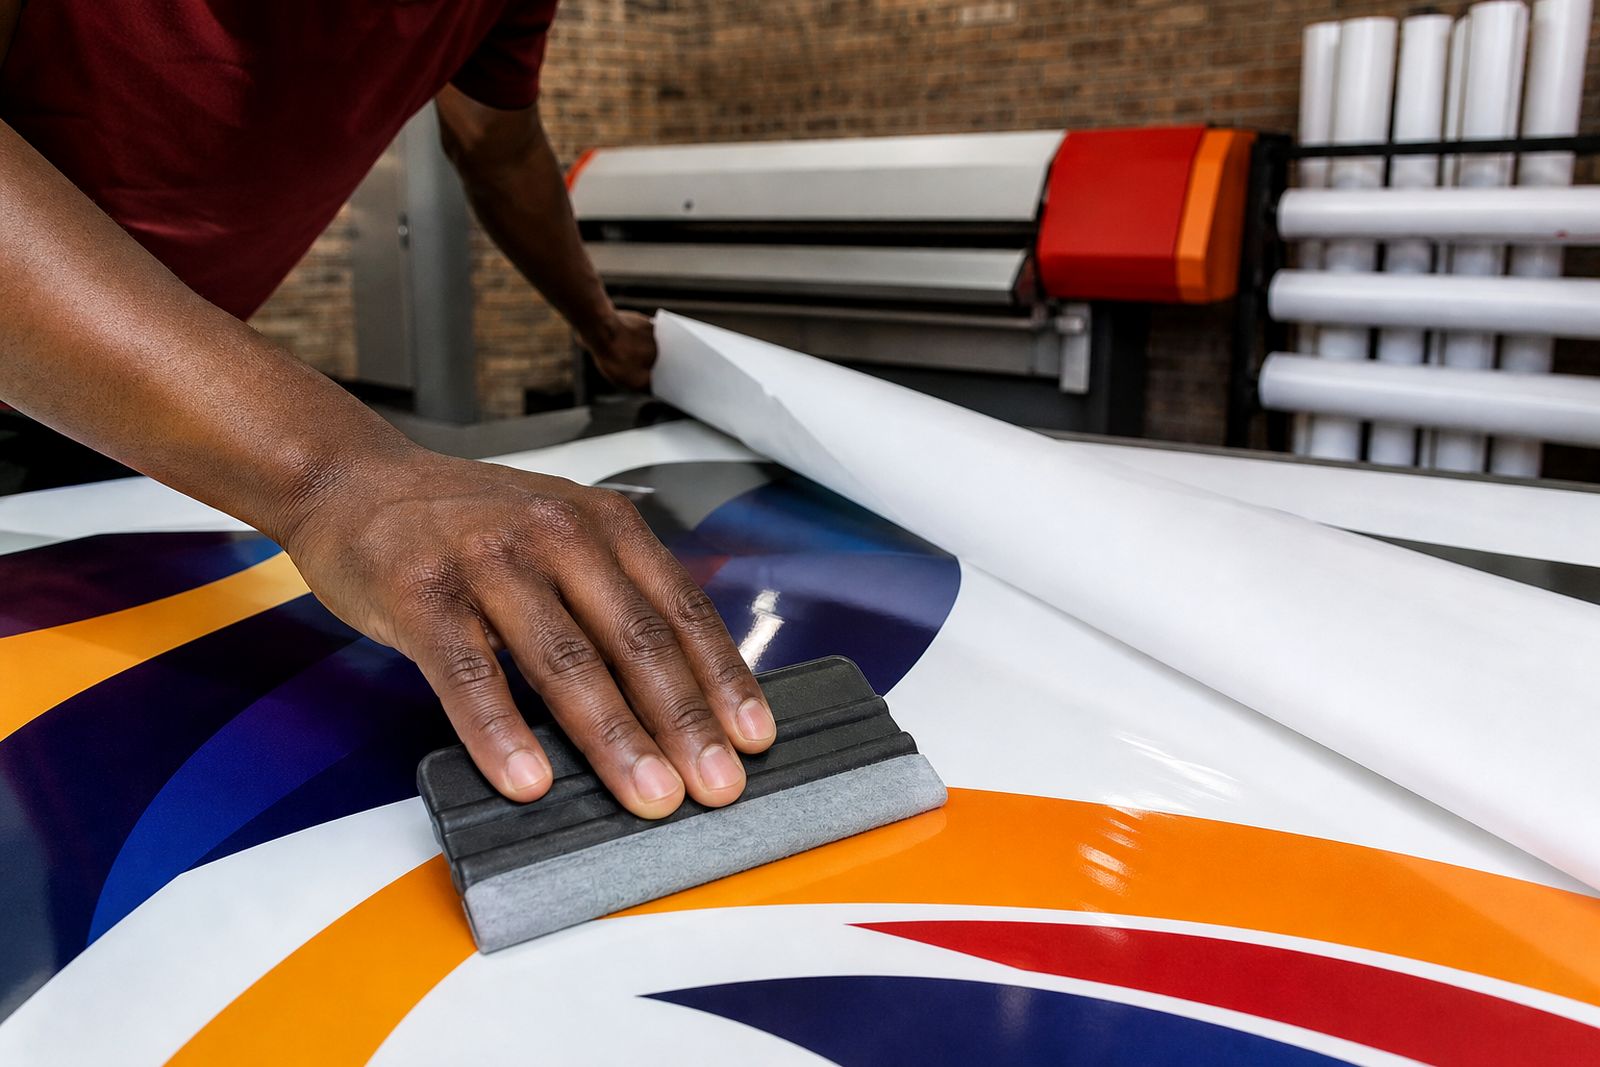
The best squeegee technique is firm and even, not aggressive. Hold the tool at a low angle and push the air outward from the centre toward the edges. Each pass should overlap the previous one slightly so you do not leave narrow channels of trapped air between strokes. If you jab at the film or change angle constantly, you can wrinkle the vinyl and lock bubbles in place.
Start at the hinged edge and work across the exposed section before peeling more liner. Then peel another short length and repeat. On gloss printable vinyl you will often see the contact line moving under the film, which helps you judge pressure. Matt finishes can hide that line more, so slower strokes tend to work better.
For wider rolls such as 1.27 m or 1.37 m graphics on rigid boards, two operators can help keep the sheet up and away from the panel while one person leads with the squeegee. The key is that only the area you are actively applying should touch down. Letting the loose sheet sag will nearly always trap air or create a diagonal crease, its one of the quickest ways to spoil a good print.
Corners, joins and long runs need a slower hand
Flat middle sections are usually straightforward. Trouble starts near edges, recesses, overlaps and seams. As you approach a corner or trim edge, reduce the amount of liner you peel back and shorten your squeegee strokes. This lets the vinyl settle without bridging over the detail. Bridging might look neat for a minute, but it often lifts later or leaves a faint tunnel that becomes a visible bubble line.
On panel joins, set the first side properly before asking the film to cross the gap. If the gap is deep or the edge is sharp, work to the edge, press in carefully, and then continue on the next face. For wall vinyl on painted interior surfaces, check the paint condition first. Flaky or chalky paint is not an application problem, it is a substrate problem.
- Slow down at trims, rivets, recesses and board joins.
- Keep tension light so the film is not stretched across the detail.
- Use shorter overlapping strokes near edges.
- Leave neat margins where a graphic should not run hard into dust-prone corners.
- If a section lands badly, lift it early and reset it before heavy pressure is applied.
Long horizontal strips on windows or shop panels benefit from frequent visual checks. Stand back every so often and look for drift. A line that is out by a few millimetres at one end can become very obvious by the far end.
What to do when bubbles still appear
Even with good prep and a proper hinge, a few bubbles can show up. The first question is whether they are air, dust or silvering from a textured contact pattern. Air bubbles are usually soft and can often be worked out to the nearest edge if caught early. Dust nibs make a hard raised point in the middle of the bubble and usually need the section lifted if that is still possible without stretching the film.
Do not start puncturing every mark you see. Needle fixes are for small trapped pockets that cannot be moved and only after the vinyl has been laid correctly. One or two tiny release points can save a panel, but random pin holes across a fresh print usually create more visible flaws than the original issue.
If you keep seeing rows of bubbles in the same direction, look at your method rather than the material. Too much exposed adhesive, skipping squeegee overlap, dirty panels and pressing from the edges inward are common causes. Matching the vinyl grade to the surface matters too. A removable wall film behaves differently from an outdoor polymeric product on a vehicle panel or sign face.
A quick site checklist before you start
Good application is repetitive in the best way. Run through the same checks on each job and the number of avoidable mistakes drops fast. This matters in a sign shop, at a client site, and even on small hobby work on a bench at home.
- Panel cleaned, dry and free of polish, silicone and old adhesive.
- Print trimmed square and allowed to stabilise before application.
- Correct vinyl chosen for the substrate and expected indoor or outdoor use.
- Hinge planned before any liner is peeled.
- Squeegee edge clean and suitable for the print surface.
- Only a short section of liner peeled at a time.
- Overlapping strokes moving air from the centre outward.
- Extra care at corners, trims, recesses and joins.
If you are unsure which printable roll is better for a wall graphic, window panel, product decal sheet or outdoor sign face, send the job details through our contact form. We supply printable self-adhesive vinyl rolls and matching cold overlaminates from Germiston, with courier delivery to sign shops, print studios, artists and makers across South Africa.
What our Printable Vinyl customers say
Verified Google reviews
Questions we get asked
Should I apply printable vinyl wet or dry?
Most printable self-adhesive vinyl used for wide-format graphics is applied dry unless the product data for that specific film allows another method. Dry application gives more predictable adhesive contact and is usually the safer route for printed decals, signs and window graphics.
Can bubbles disappear on their own after application?
Very small air marks sometimes settle as the adhesive wets out, but larger bubbles usually stay where they are. It is better to apply with steady overlapping strokes and deal with trapped air early than to hope a rough panel will improve later.
Does laminate help prevent bubbles during application?
Cold overlaminate can make a print feel more stable and easier to handle, especially on longer panels, but it does not replace proper prep and technique. A dirty surface or poor squeegee pattern will still cause bubbles even on a laminated print.
Tell us about the job
Send sizes, materials and where you are through our contact form, and we will come back with the practical options.
Open the contact form